Party stems

More: Reinvent your stuff: 20 fun DIY projects
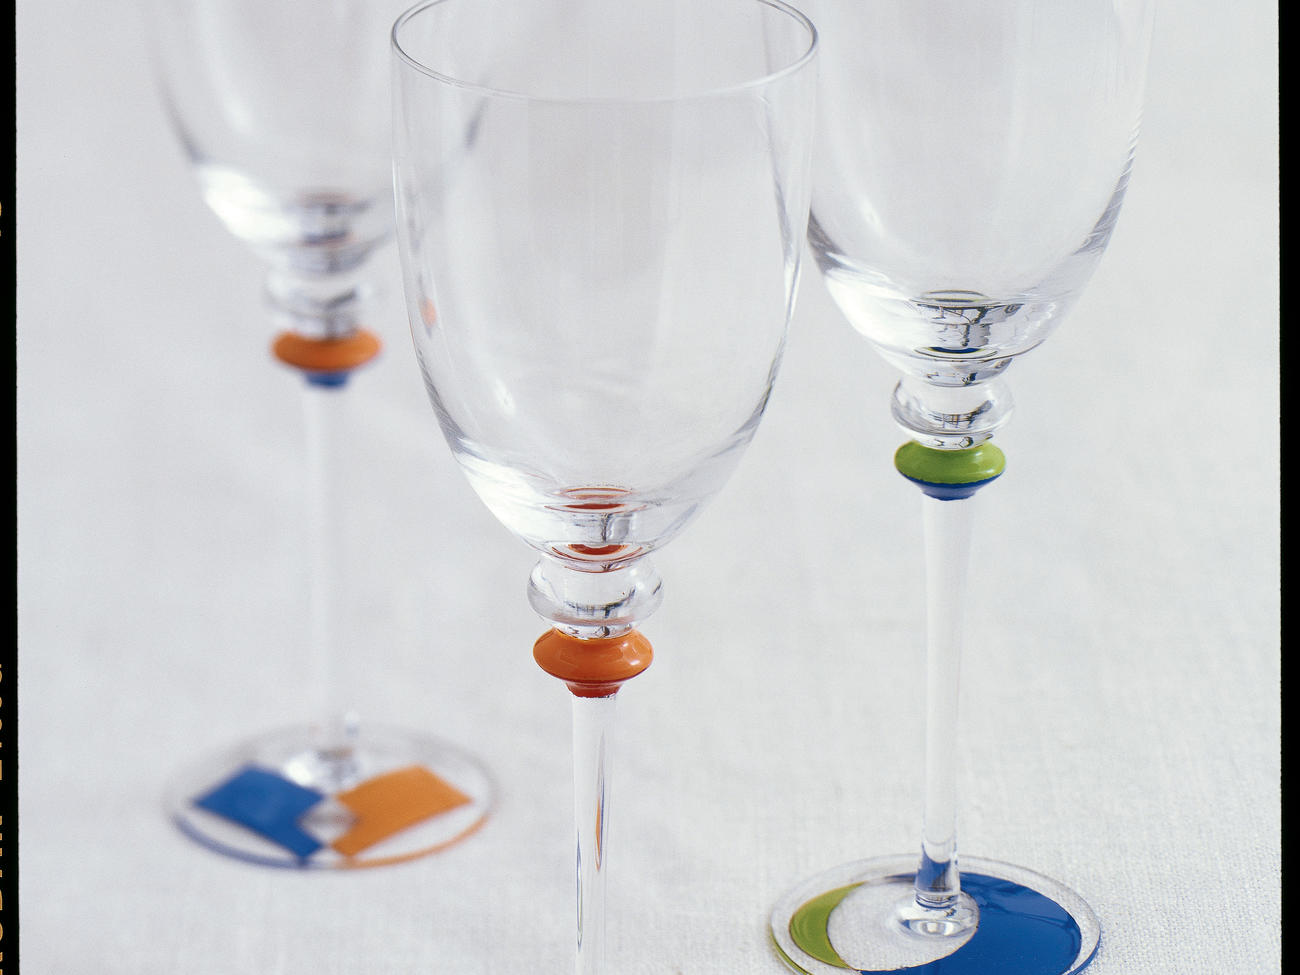
Perk up your table by turning ordinary wine goblets into stylish geometric art glass. It just takes a little glass paint and a stencil or template.
Designer Sarah Caska used a fine-tip black permanent marker and enamel paint specifically formulated for glass to create these Frank Lloyd Wright-inspired designs. The cost was about $36 for eight decorated glasses, including stemware.
Several brands of enamel glass paint are available at craft stores. Caska used Delta, which dries in an hour (allow paint to set for 10 days before washing).
Read paint instructions carefully; some brands require placing the decorated glassware in a hot oven for 30 minutes to set the paint. Manufacturers’ washing instructions vary; some paints withstand a dishwasher, but others need to be hand-washed.
Next: What you’ll need
IT’S EASY TO DECORATE A GOBLET
MATERIALS
• 8 long-stem wine glasses. Look for glasses with contoured stems that adapt well to painting.
• Several 2-ounce containers of enamel glass paint (use two contrasting colors for each glass). Choose bright, bold colors to emphasize your design; pastels and transparent paints will not show well.
• 1 fine-tip black permanent marker
• 2 fine-tip paintbrushes
• Stencils with geometric cutouts (available at craft stores)
• Paper towels for excess paint
• Glass and tile varnish (optional)
Next: Directions
DIRECTIONS
1. Before starting your project, make sure each glass is clean and free of lint. Turn the glass upside down. On the base of the glass, use a marker to outline the stencil’s design ― we chose circles, semicircles, and rectangles.
2. Decide where you want your colors (do not paint glass interior or rim), then paint in the design, keeping within the lines. Apply paint evenly and consistently so the colors remain uniform (if the color is not as bold or opaque as you’d like, let paint dry and apply a second coat). We left some areas unpainted ― such as where two circles or rectangles intersect ― for artistic effect.
3. Paint the upper portion of the stem in alternating bands of the two colors, or one band of one color; let dry per package instructions.
Optional: Seal paint with a glossy varnish according to package directions.
Reinvent your stuff: 20 fun DIY projects