
The Secret to a Functional Yard This Spring? Smart Grading.
From muddy to magical, try these practical and water-smart landscaping tips.

Aubrey Janelle Photography
Spring is here, and with it comes the perfect opportunity to see your yard like never before. Winter rain has left clues: puddles where water collects, soggy slopes that keep kids inside, and those corners where plants refuse to thrive. Rather than fighting it, what if you worked with it?
Brit Sastrawidjaya, founder of Portland’s high-end landscape studio Blueprint Earth, has made a career of turning problem spots into show-stopping, functional landscapes. Her philosophy is simple: Stop battling water and start designing with it. That soggy corner becomes a rain garden that blooms through summer. A low slope transforms into a productive blueberry patch. Even soil that used to pool water now quietly stores it, keeping the yard lush without a sprinkler.
This week, Brit walks us through how to spot trouble, read the land, make smart grading adjustments, select the right materials, know when to call in a pro, and design a landscape that’s as beautiful as it is water-wise. By the end, your yard won’t just drain—it will thrive.
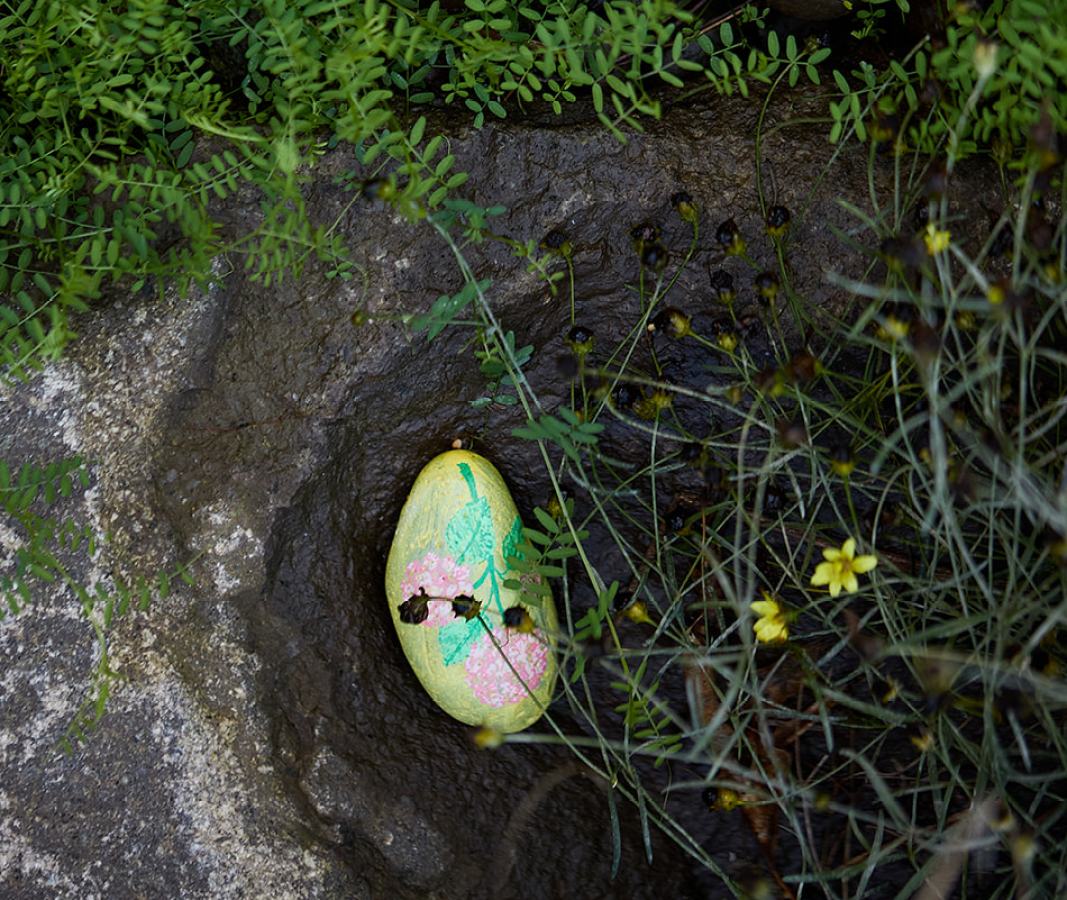
Spot the Trouble Early
Aubrey Janelle Photography
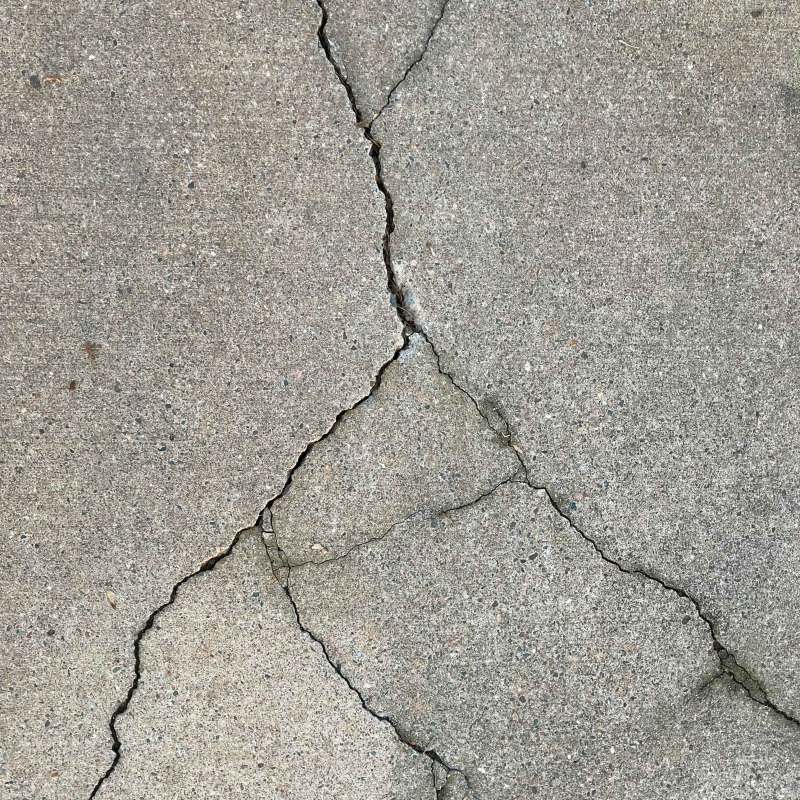
The first step is observing. After a good rain, walk your property with fresh eyes and look for lingering puddles or soggy spots. These are the places that need attention, whether it’s your foundation, a low corner of the yard, or a path where moss thrives naturally. Brit emphasizes that even small, quiet warning signs—like cracks in concrete or soggy planting beds—signal chronic water issues.
She advises starting simple: Take photos over a rainy season, sketch the landscape roughly, and mark where water consistently pools. These aren’t just problem areas—they’re potential rain gardens, creek beds, or edible plantings. “Every sign of water trouble is also a signal pointing toward where the landscape wants to go,” she says. When you see your yard this way, the shift from reactive fixes to regenerative design becomes clear.
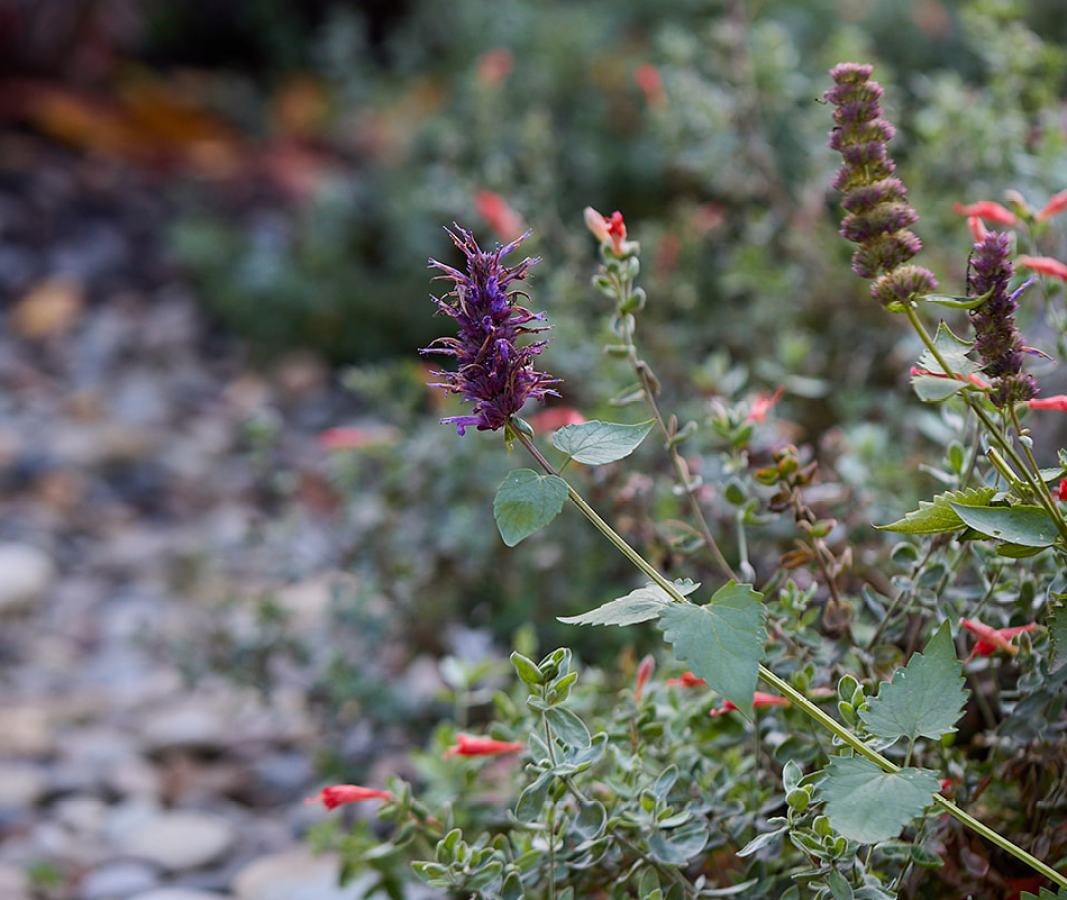
Read Your Land Like a Map
Aubrey Janelle Photography
Once you’ve spotted the trouble, it’s time to understand your property’s natural flow. Brit’s method is grounded in observation: stand at high points, watch where the water collects, and note where vegetation thrives without irrigation. These “hydration zones” tell you exactly where your rain gardens or berry hedges will flourish.
Visual cues make it easier: slopes toward or away from your foundation, concave areas, bare patches, and leaning trees all reveal how water moves. A low-tech trick she swears by: Run a garden hose for 10–15 minutes and see where the water naturally travels. Combine that with a line level for precision, and suddenly the once-confusing slopes of your yard tell a story.
DIY Grading Basics
Aubrey Janelle Photography
Not every fix requires a contractor. The most impactful DIY adjustment? Regrade soil six to 10 feet around your foundation. Brit explains that many homes develop “negative grade” over time, where soil settles and water begins flowing toward the house. Pull back mulch, add compactable fill, and pitch the soil away from the structure to create a positive slope. Extend downspouts to deliver water to a rain garden or planted bed, turning a drainage fix into a functional, attractive feature.
A common DIY mistake is redirecting water without planning the full path. “Before you move any soil, trace the full path water would travel and make sure the endpoint is somewhere intentional,” Brit notes. With a few simple tools—a steel landscape rake, flat-bladed spade, wheelbarrow, and hand tamper—you can correct grades safely and create a yard that starts working for you.
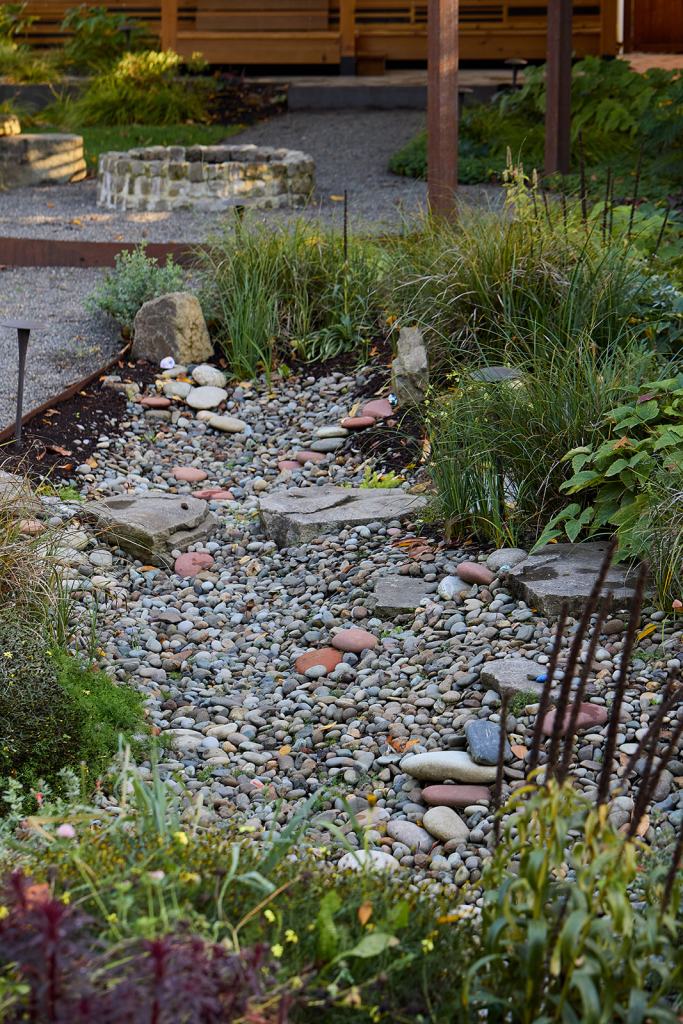
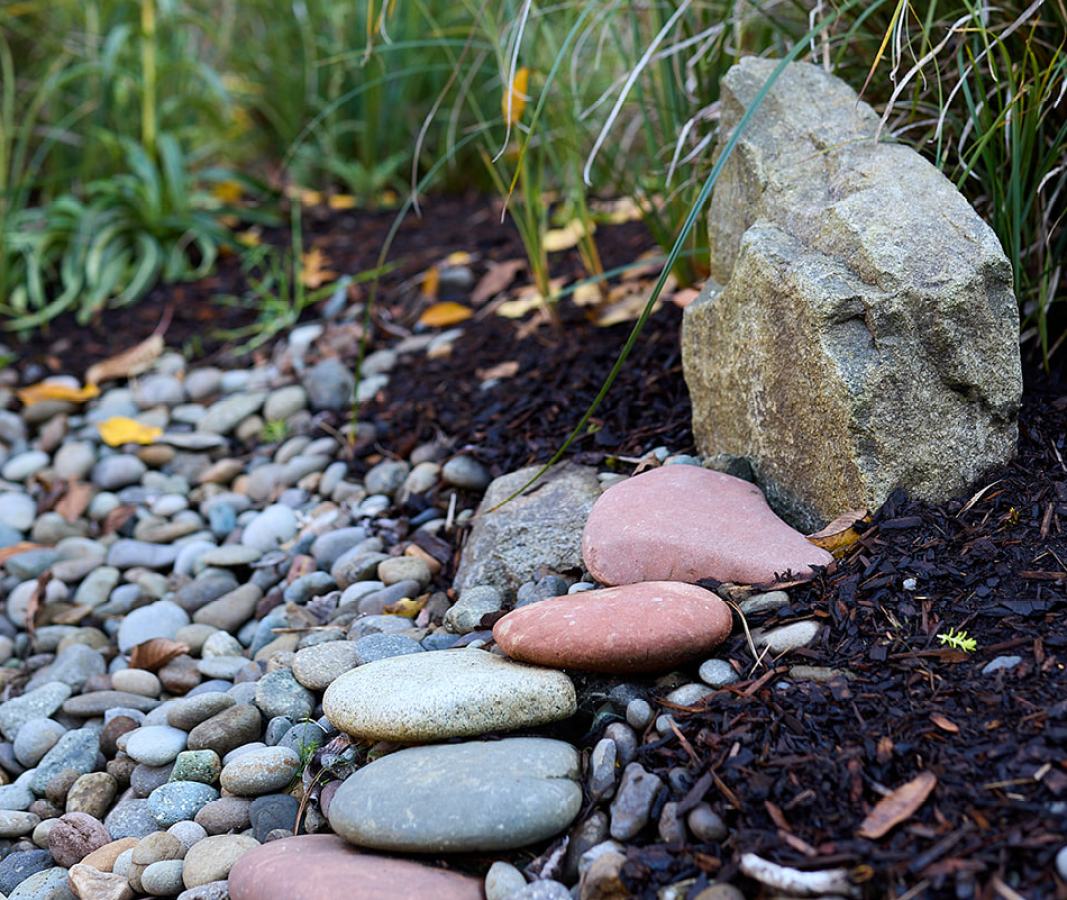
Materials Matter
Aubrey Janelle Photography
Even the most thoughtful grading plan won’t work if you choose the wrong materials. Brit highlights locally sourced river rock, bark chip mulch, and light compost layers as staples for drainage-friendly landscaping. Larger boulders become functional art: stepping stones in a dry creek or sculptural anchors in a rain garden. Permeable pavers on patios and driveways allow water to infiltrate, eliminating sheet flow and puddling.
The secret, she says, is letting materials and plants follow the natural water gradient. Water-loving plants thrive in the lowest points, stream-edge species go slightly higher, and drought-tolerant natives occupy the highest elevations. When material selection and plant placement align with natural hydrology, your yard doesn’t just function—it looks inevitable, effortless, and beautiful.
When to Call in the Pros
Aubrey Janelle Photography
Some problems are bigger than a weekend project. Water inside the structure—basement seepage, damp crawlspaces—is a clear sign to call professionals. Brit stresses bringing in landscape experts who understand rain gardens and surface drainage, not just contractors focused on foundation repair.
Other warning signs include differential settling, widening cracks, or wet spots that return season after season. A thoughtful, professional solution considers immediate drainage issues and creates a long-term vision: a yard that handles its own water, stays lush, and becomes a space your family loves to be in.
Design with Water in Mind

Aubrey Janelle Photography
The best drainage features are also the most beautiful: Rain gardens, bioswales, dry creeks with boulders, and berry hedges all perform a function while creating visual interest. Brit emphasizes that the goal is a yard where guests have no idea they’re inside a water management system—they just feel that it’s right.
Everything flows from water first: grade, materials, plantings, and finally, spaces for people. Gravel, stone, native plants, and furniture all feel inevitable once the water path is established. The result is a landscape that requires minimal irrigation, supports pollinators, and feels alive every season.
Plan Ahead for Seasonal Success
Aubrey Janelle Photography
Addressing grading and drainage early compounds benefits year after year. A properly designed rain garden established in year one protects foundations and absorbs runoff. By year two, plants thrive, slopes bear fruit, and kids have paths to hop across after a storm. By year three, deep-rooted natives maintain hydration through dry months without sprinklers.
Seasonal timing matters. Late spring offers ideal soils for grading before the heat sets in, while summer or fall can work with planning. Twice-yearly checks—after the first significant storm in spring and before fall rains—ensure solutions remain simple, effective, and integrated into the landscape’s natural rhythm.
“Over time, these checks stop feeling like maintenance and start feeling like something else entirely,” says Brit. “You’re walking a landscape that feeds your family, manages its own water, and gets more beautiful every season. That’s not a chore. That’s stewardship of something worth protecting.”
