
How to (Finally) Manage All of the Expiration Dates in Your Kitchen
From canned goods to fresh eggs, here’s how to monitor and maintain your food supply.

fcafotodigital/Getty Images
Expiration dates are labeled on specific food items to help us consume them safely and at their peak quality. However, keeping track of all these numbers can feel like solving a complex math equation. To tackle this part of your home, trust in organizing expert Amanda Titchenal’s tips for organizing both shelf-stable and perishable food in your pantry, fridge, and freezer.
Amanda Titchenal
1. Review Your Food on a Regular Basis
In her own home, Titchenal has made a habit of reviewing the expiration dates on dry goods once per month, since grains, pastas, flour and sugar have a significantly shorter shelf life than canned and jarred food.
“There is quite a bit that goes bad quickly,” she says. “Life just passes, and you think you bought it last week, but it was six months ago. You don’t need to check your cans and jars as often—maybe once every six months.”
Meanwhile, more perishable food items like dairy products should be checked on weekly.
Amanda Titchenal
2. Decode the Date-Labeling Phase
The U.S. Department of Agriculture (USDA) website has a guide to determine when you should use particular food items. It’s important to note that these are not considered a “safety date.” To establish the safeness of consuming your food, review the USDA’s Food Safety Basics. Here are a few of the “commonly used phrases,” and their meanings:
- Best if Used by/Before: This is a more self-explanatory phrase, but it tells you when the product will have the best flavor or highest quality.
- Sell-By: This is for the grocery store to know how long the product should remain on the shelves for inventory purposes.
- Use-By: This denotes when you can still consume the product while at “peak quality.” The only item you should discard after the “Use-By” date is infant formula.
- Freeze-By: This date suggests when you should freeze something to maintain “peak quality.”
Amanda Titchenal
3. Place Specific Foods in Containers
Separating certain products from their original packaging comes in handy for several reasons. Titchenal’s main food storage groups include:
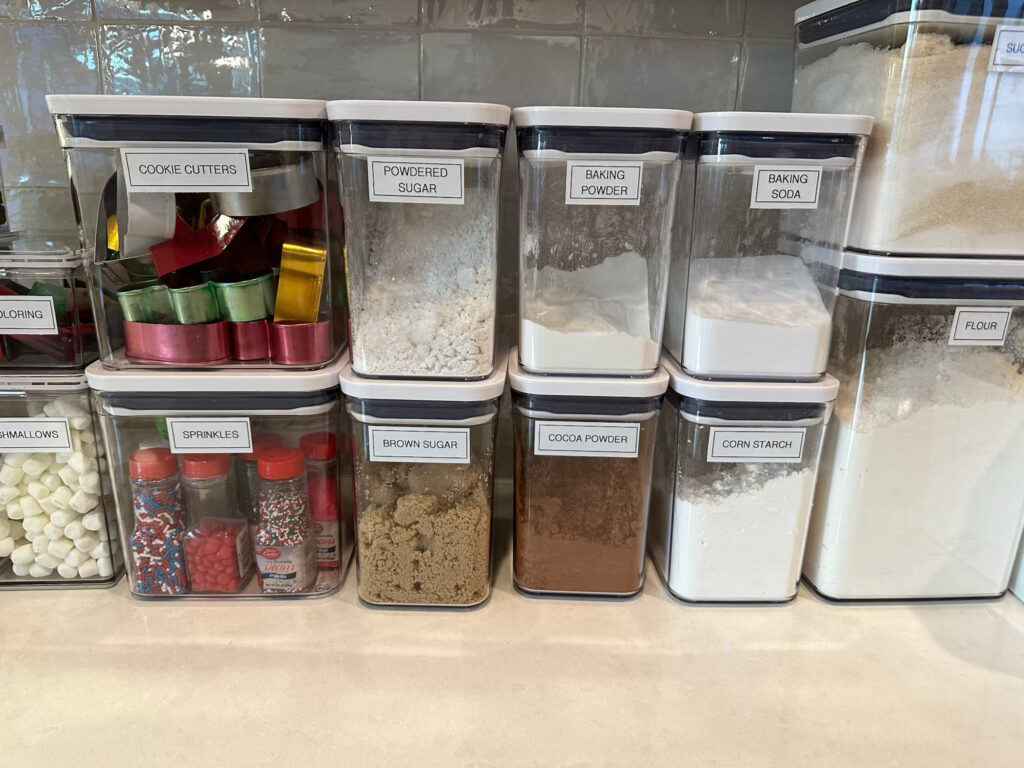
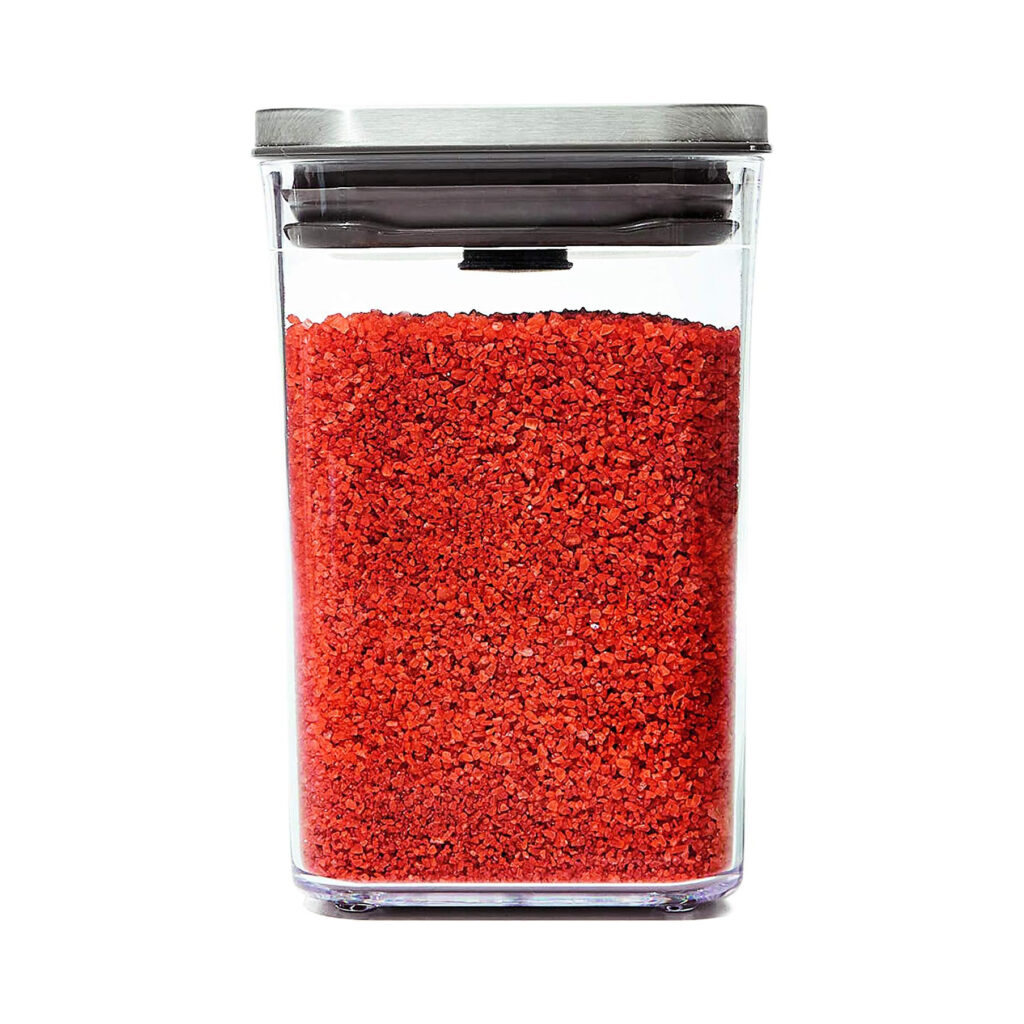
- Baking supplies. Titchenal says flour and sugar are typically in bags, so it’s best to transfer them into an airtight, sealed container to keep it fresh as long as possible. “At bare minimum, we put baking supplies in containers—always. If you’re opening a bag of flour or sugar and not putting it in a container, it’s going to go bad really fast,” she says. “You can put it in a plastic baggy, but it looks messy and bugs can get in.”
Courtesy of OXO
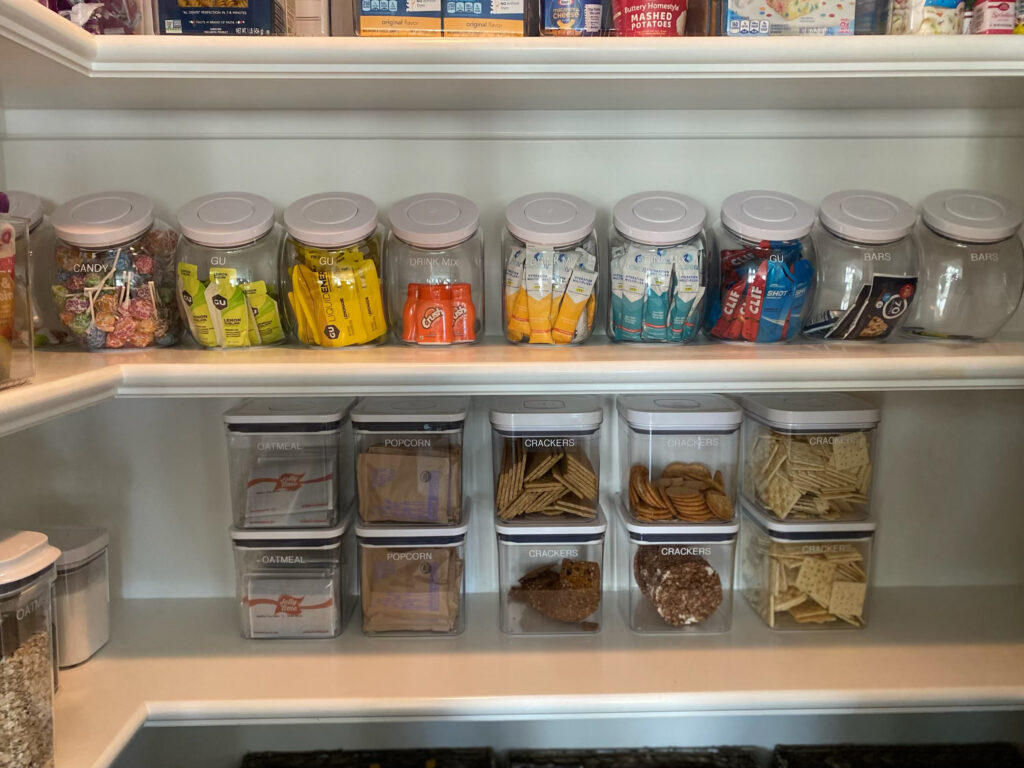
- Fruit snacks and bars. While these already come in boxes, Titchenal recommends removing the packaging for snack packs and granola bars. It makes these products more accessible and maintains the organization of your pantry. “Once you get them out of the original packaging, you’re less likely to lose it in the back of your pantry forever.” This strategy also allows you to see how many you have left, so you don’t wind up with an empty box, and eat everything you have before your next grocery haul.
- Yogurts and string cheeses. Similar rules apply to your fridge, and Titchenal frequently moves yogurt and string cheese into clear containers to grab and go.
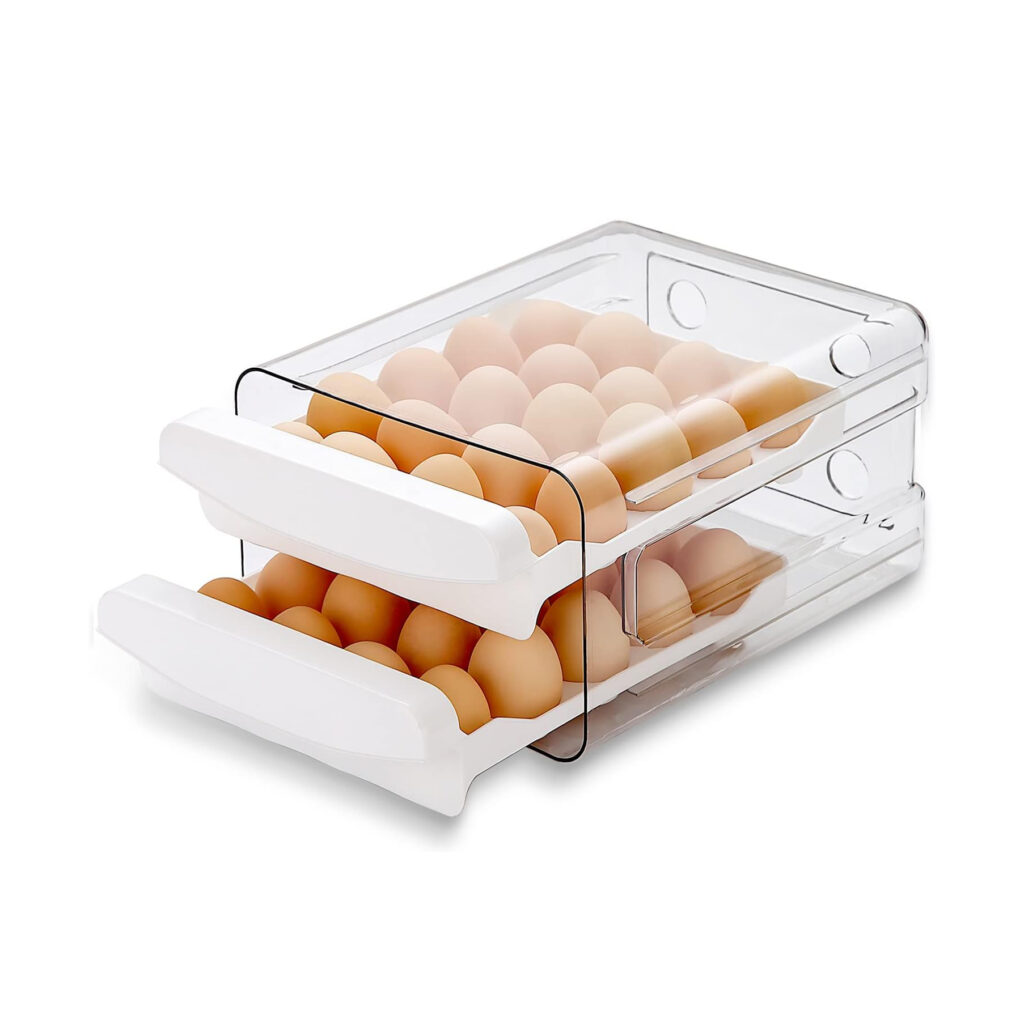
- Eggs. Just like those granola bars, it’s easy to forget if you have zero or a dozen eggs left in the carton. That’s why Titchenal and her team store them in these egg drawers. “We go through eggs so fast I don’t need to put an expiration date on the container, but some people like to have a little date on those.” (More on this tip below!)
Courtesy of Amazon
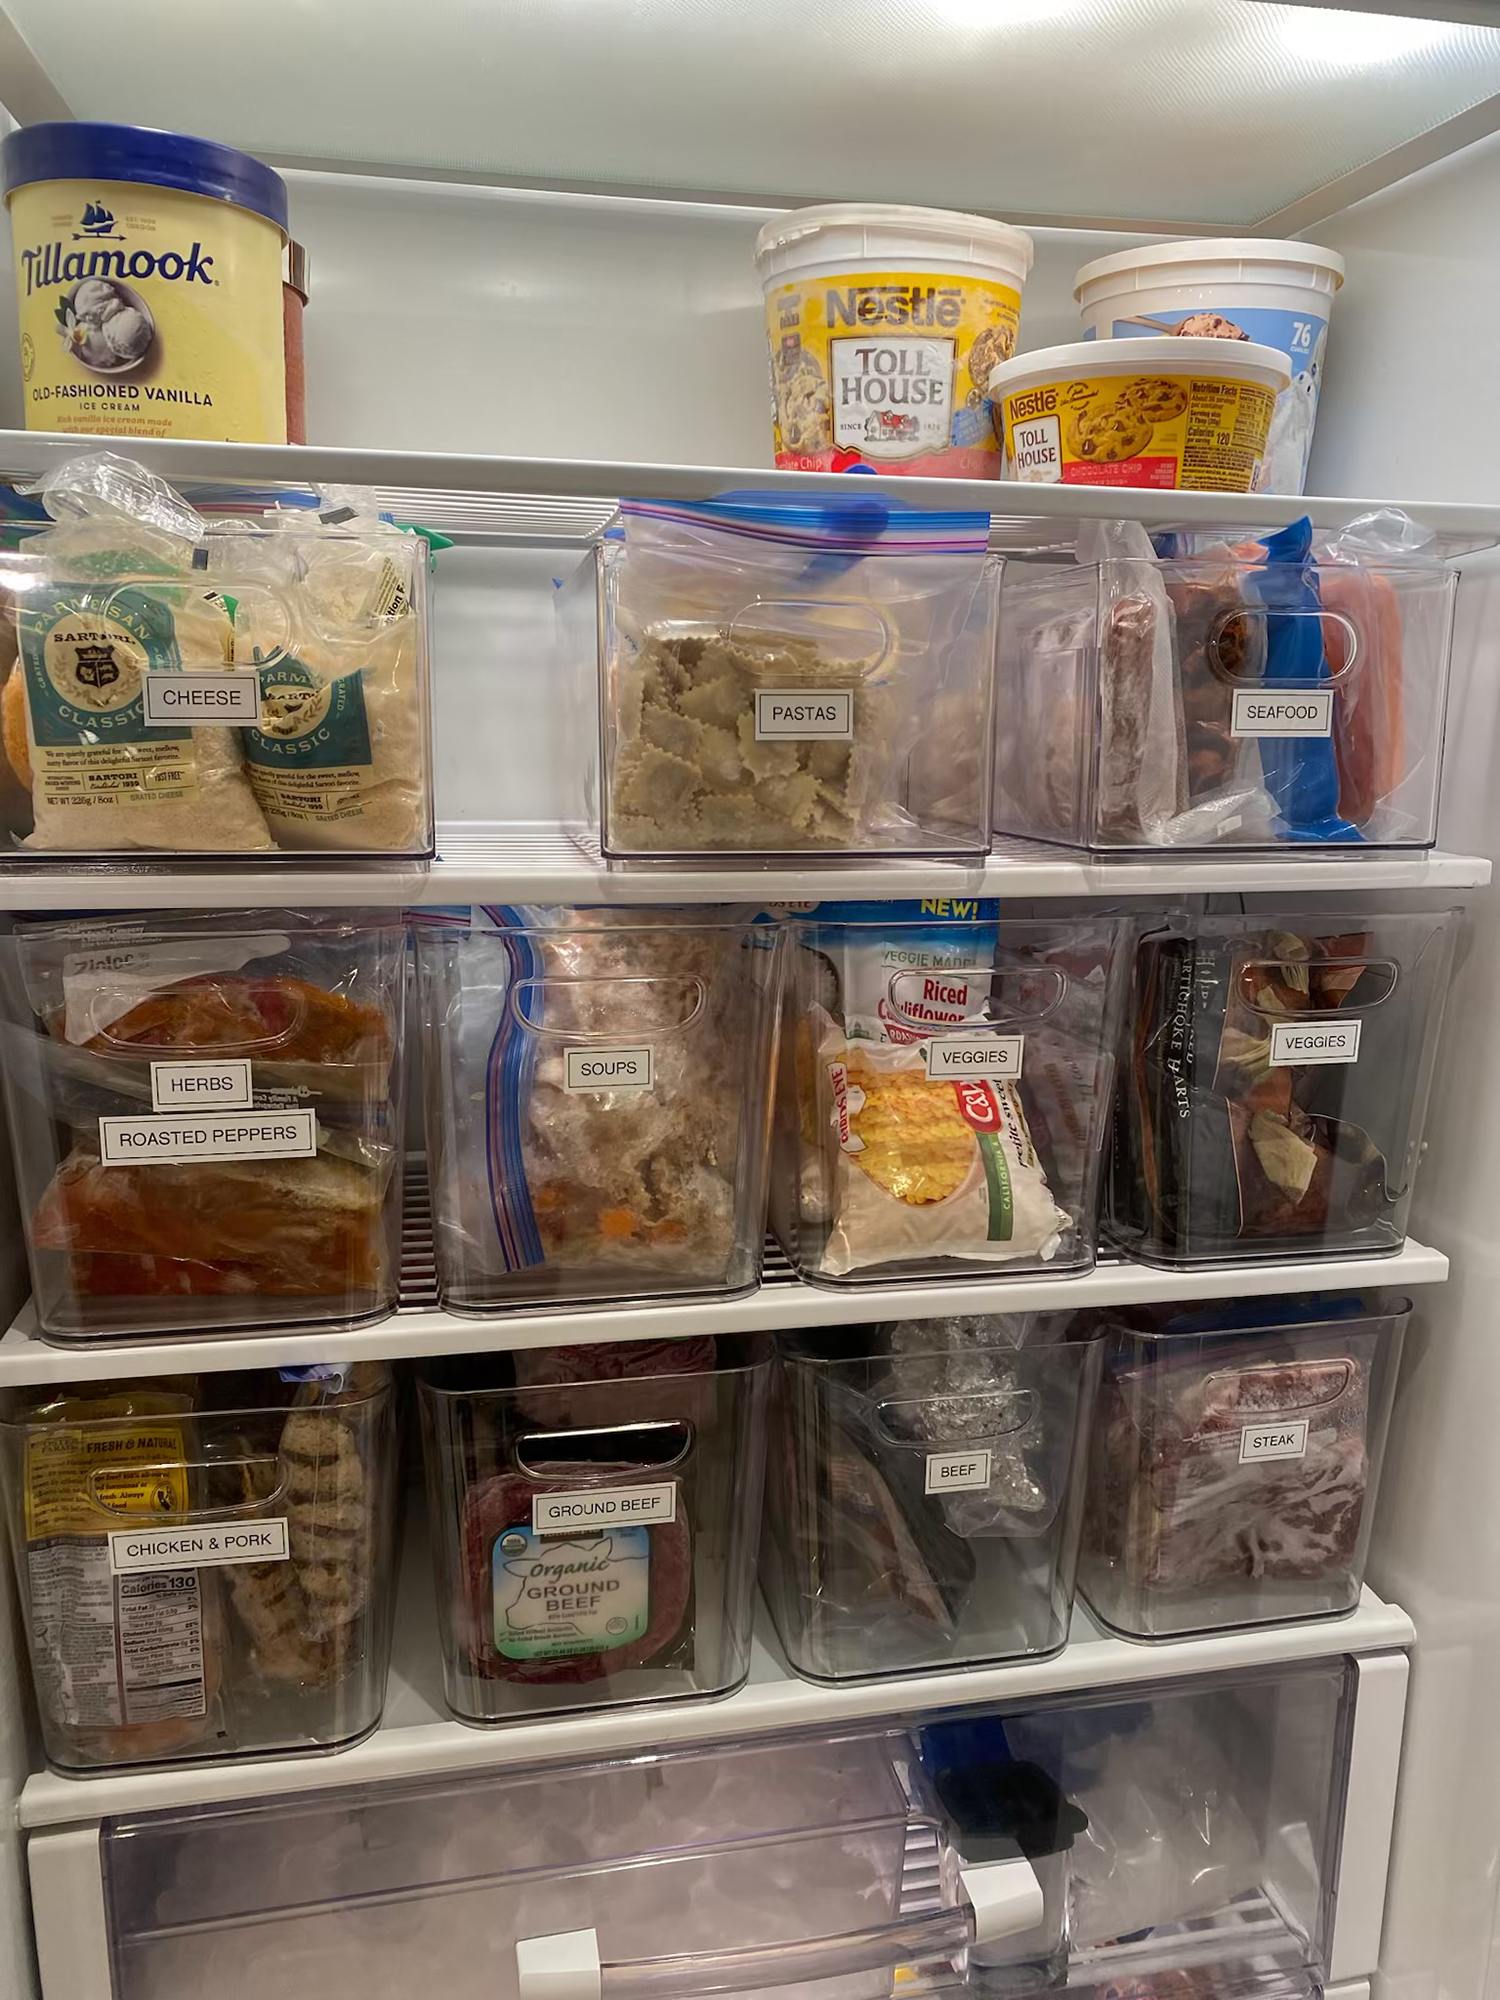
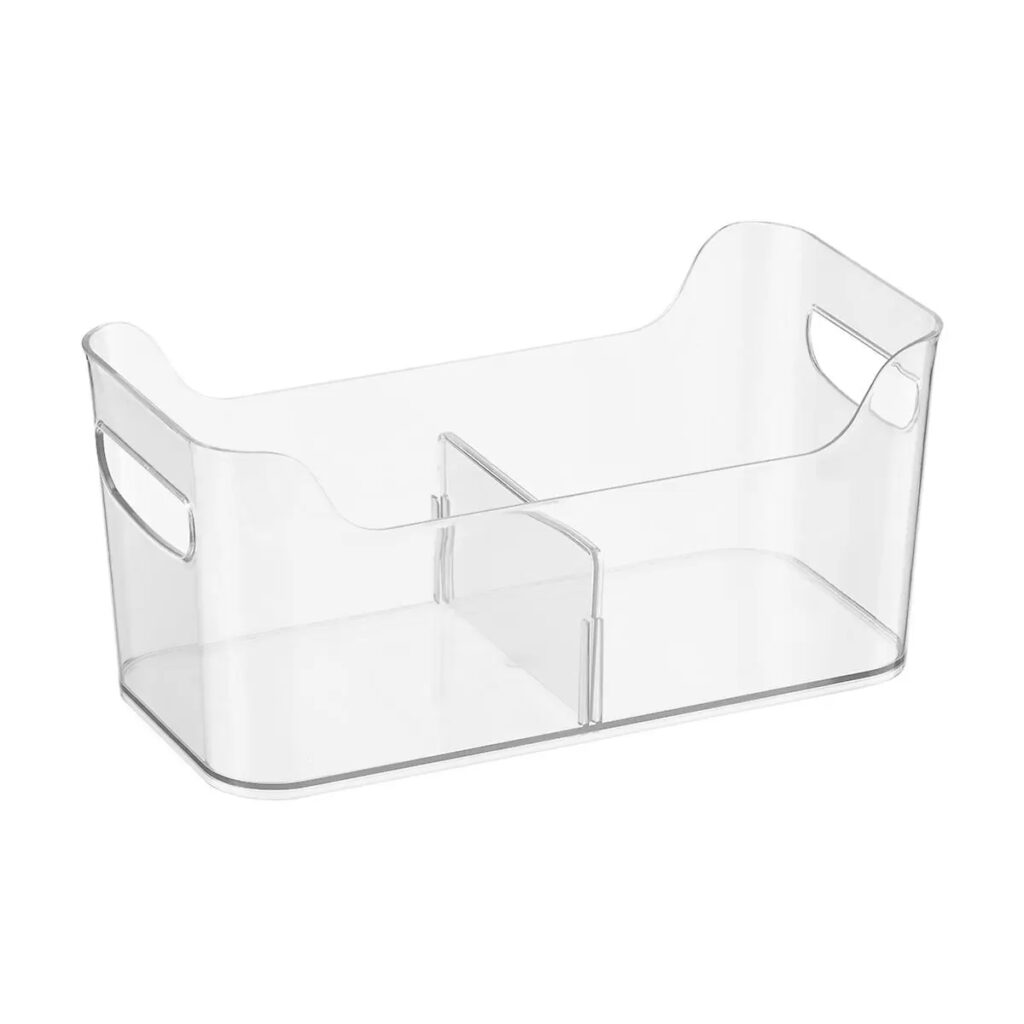
- Frozen food. These foods don’t require a frequent refresh, but you can still stow them away in containers for a more organized freezer. Titchenal recommends these divided freezer bins to get the job done.
Courtesy of Container Store
There are a few things Titchenal doesn’t mind leaving in their OG vessels, such as pasta. “Families these days eat an entire box of pasta at once, so it doesn’t always make sense to transfer that,” she says. “Plus, pasta has a very long shelf life and they’re usually in nice boxes or pouches.”
4. Get out Your Label Maker—or a Post-It
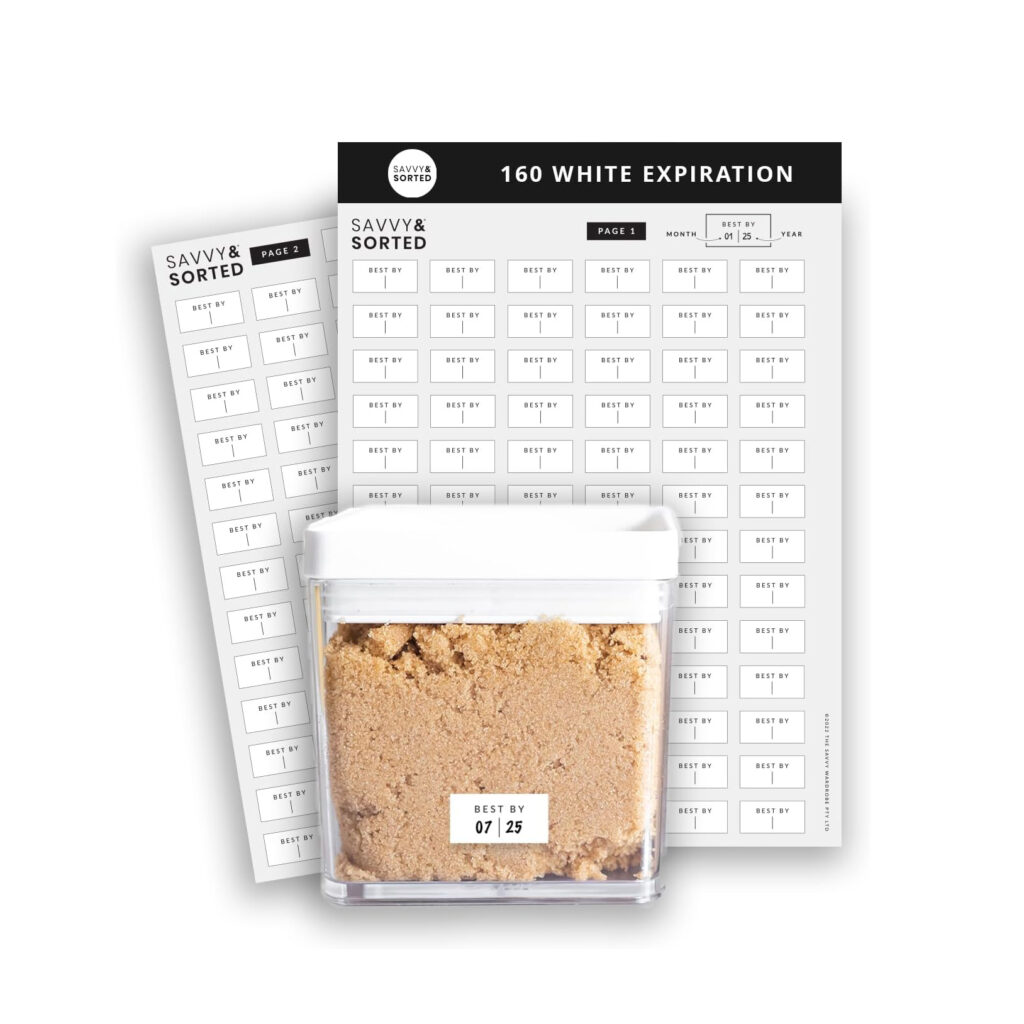
Now that you’ve established what needs a chic new container, you’re probably wondering, How am I supposed to remember the expiration date for these? Titchenal uses a label maker to add the name of each item (“Granola Bars,” “Flour,” etc.), and she stocks up on these expiration date pantry labels to attach to the container. “It doesn’t have to be a sticker,” she adds. “It can be a Post-it—anything—and we just stick it on the bottom of the container so we can get rid of the packaging.”
Courtesy of Amazon
We only recommend things we love. If you buy something through our site, we might earn a commission.
