
The Ultimate Guide to Growing Tomatoes
Our garden editor’s foolproof approach to growing the healthiest and most abundant plants this summer.

TwentySeven/Getty Images
It’s always tomato girl summer in my garden. I purposefully lean down and focus on what I grow in my spring garden beds to prepare and make room for the eight to 12 tomato plants that are a combination of favorites started from seed and new varieties picked up at the local farm’s heirloom tomato pop-up. It’s definitely taken me many years to perfect my gameplan, but over time I listened to my space and learned what worked best for me. I think that’s what is most important here: to understand that not every garden guide is a strict must-follow. Think of this as just a few new ideas or suggestions in the pursuit of full harvest baskets this summer. From seed starting in soil blocks to homemade trellising that will maximize your yield—I hope you feel inspired to try something new. Happy tomato growing my friends. Here’s to a bountiful season ahead!
Dan Gold/Unsplash
Start from Seed
May is a bit late to start tomatoes from seed, but never say never, and if you have a long growing season and a very warm sunny spot that needs to be filled in your garden, you can still get a crop before the first frost—I just suggest a variety that has a fruiting time of 50 to 60 days and to go with a smaller cherry tomato vs. an heirloom beefsteak.
If you’re starting seed within the spring seed-starting window you can begin as early as mid-February (or even earlier for those with greenhouses). I encourage you to try soil blocking, where compressed soil squares allow for better airflow, which produces stronger roots and induces less transplant shock. It takes a little trial and error to get your soil blocking recipe right, but I promise it’ll be worth it for so many reasons.
Priscilla Du Preez/Unsplash
Select Healthy Stock
No shame in the nursery transplant game, especially with specialty pop-ups like Tomatomania providing gardeners with a huge selection of unusual and exciting tomato varieties. When choosing your plant, be sure to give it a full health check. Examine leaves for any holes, dark spots, yellowing, or pests. Soil should be free of fungus or gnats and the bottoms of containers should not be exploding with roots (although you can save root-bound plants with a good zhush before planting).
Keep in mind that some heirloom tomato varieties, such as Oxheart might have more compact, wiry, or sparser leaf structure than more commonly known nursery-provided selections. This is totally normal—get to know your plant before purchasing and experiment each summer with a new-to-you plant.
Thomas J. Story
Transplant with Care
Location is key, so make sure your tomato’s home will have a full 6 to 8 hours of sunlight and if possible, try to rotate locations each year to eliminate any potential disease that might be lingering in the soil. A safe bet is if your tomatoes failed miserably the year before, you should try a new spot.
When it’s time to place plants in the soil, think of the rules of threes. Make sure they are at least 3 inches tall and have 3 sets of true leaves; some even like to wait until the plant is three times bigger than the nursery grow pot it’s planted in, but really you want a good amount of stem height so you can plant deeply and encourage root growth. Many practice flower-pinching, which forces energy into growing more plant greens rather than fruit, so pluck off any yellow flowers until you’ve got your plant situated in the ground and it reaches 1 to 2 feet tall.
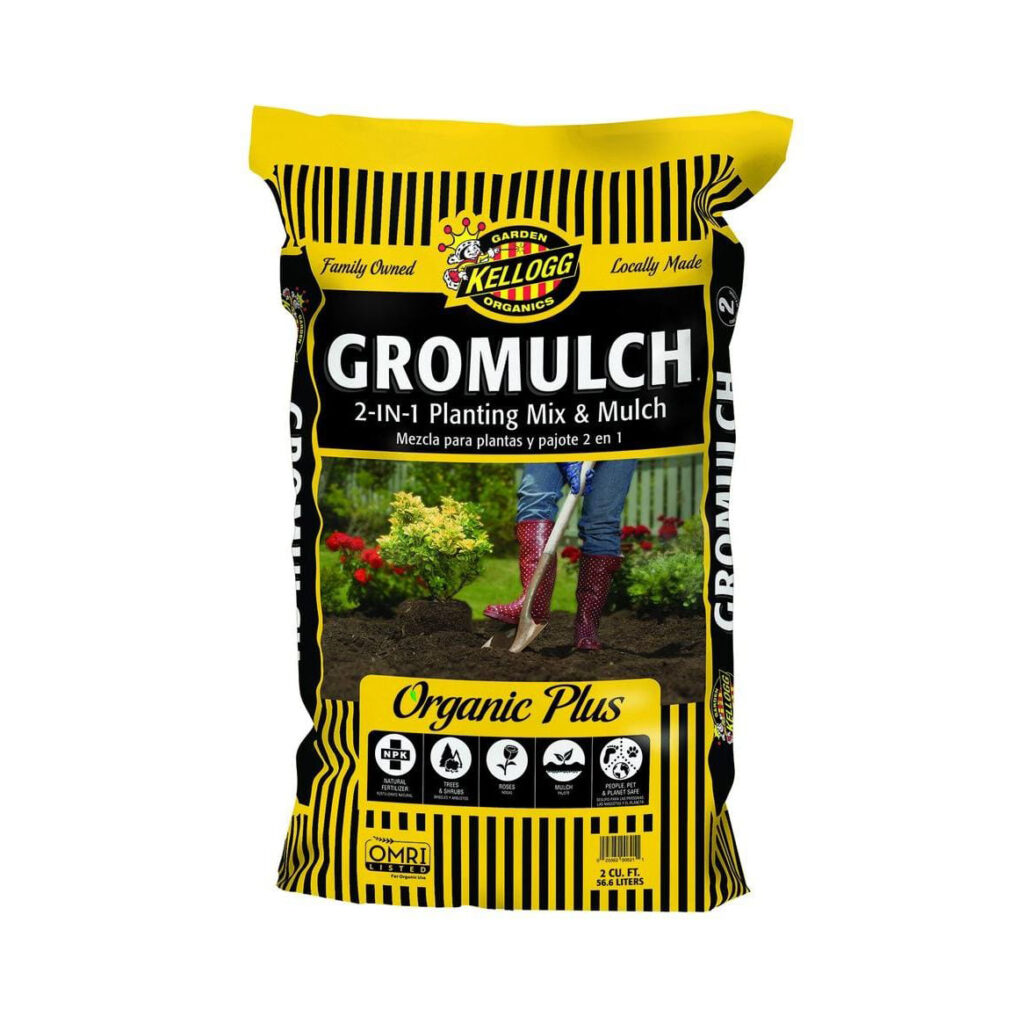
Planting holes should be deep and two-thirds of the plant should be buried at transplanting time. Snip off any lower leaves and try a trenching technique where plants are laid on their sides rather than into a deep horizontal hole—this will encourage vertical root growth and result in stronger, higher-producing plants. I like to toss a handful of EB Stone Recipe 420 Organic Recharge Fertilizer into the planting hole and then cover top soil with 2 inches of Kellogg Organic Growmulch for an extra nutrient-dense kickstart.
Courtesy of Home Depot
Which Plants to Pair with Tomatoes
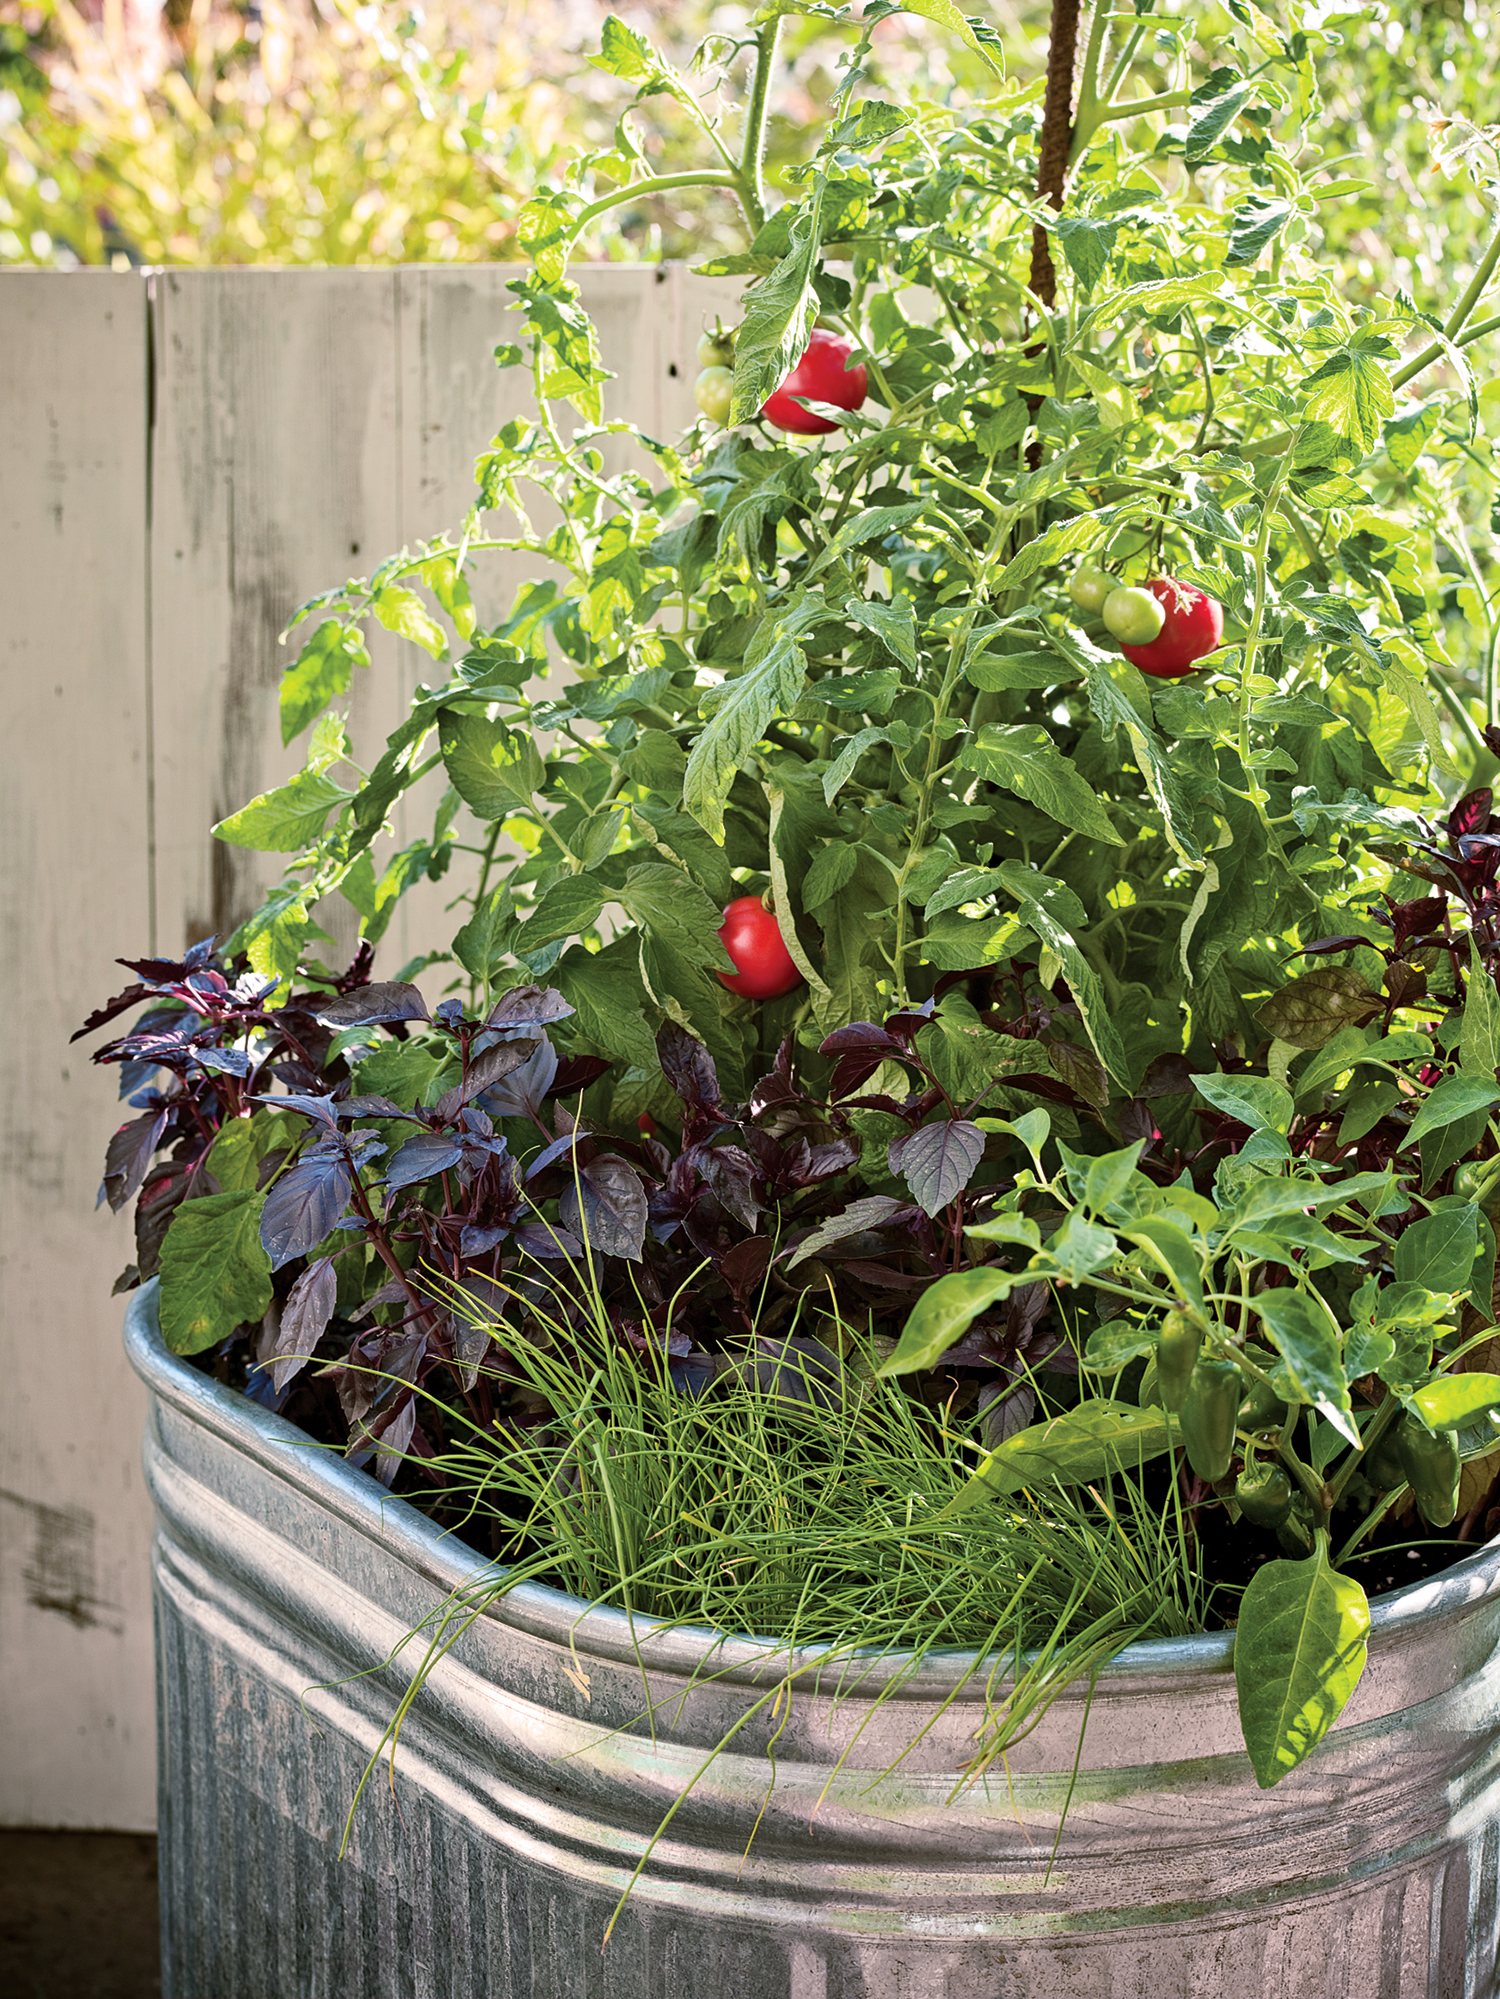
Proper plant pairing is key for creating balanced ecosystems that fight pests on their own. In addition to having native plants in your surrounding gardens, which will attract all the beneficial pollinators and birds who love to peck at caterpillars, try tucking in a few other edibles to protect plants and doubling your harvest diversity. Any allium (chives, onions, leeks) will repel aphids, while edible flowers such as marigolds and borage will keep munching caterpillars at bay. For a late season salad bar, lettuce and herbs can be grown in the dappled shade and enjoyed into the hotter parts of the season.
Thomas J. Story
How to Plant Tomatoes in a Container Garden
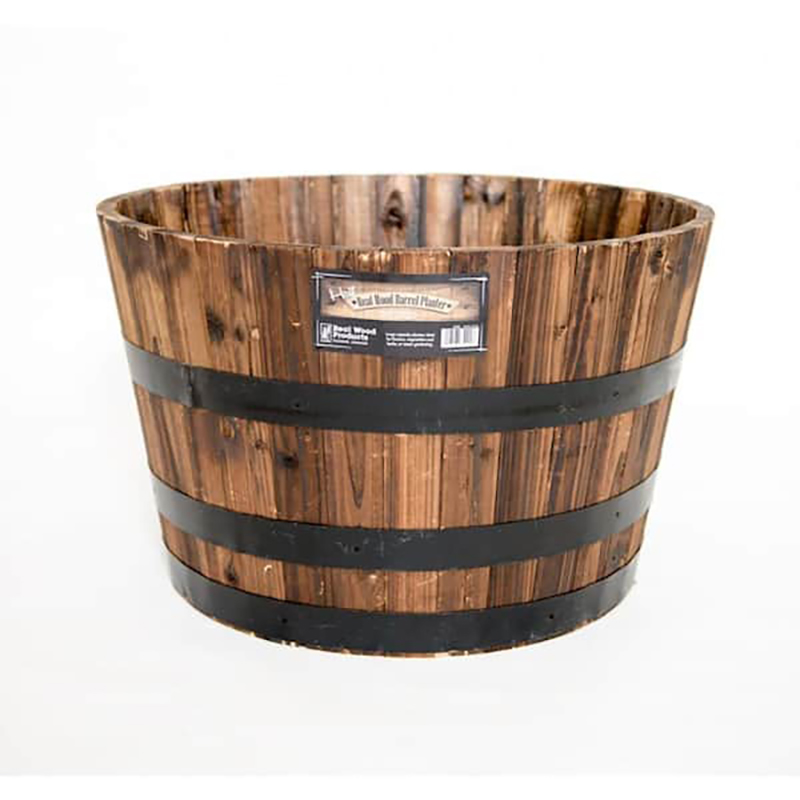
If you’re planting on a patio, stick to cherry tomatoes or dwarf varieties of tomatoes that will yield manageable harvests while thriving in 16 to 24-inch deep pots. Stay away from terracotta which dries out too quickly in the summer months and make sure to water until it completely drains from the bottom of the pot. If you have room, a wooden wine or liquor barrel makes for the perfect container, allowing you to grow basil or other companion plants as well.
Courtesy of Home Depot
Build a Trellis
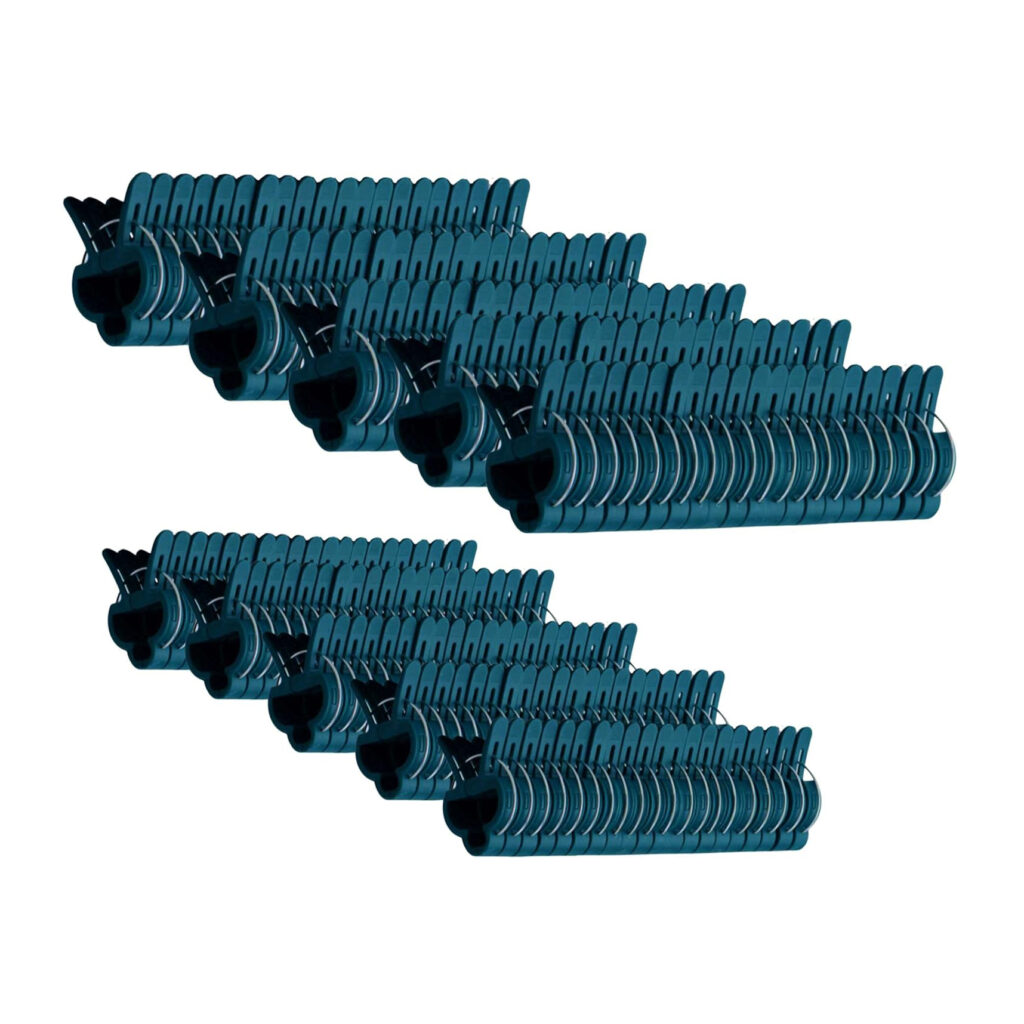
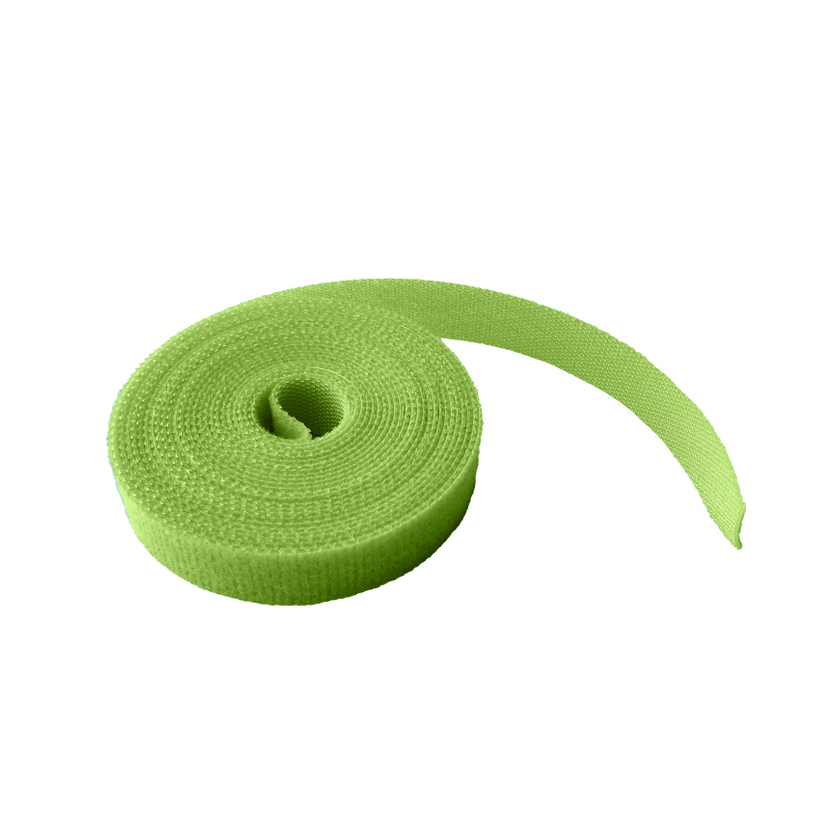
I’ve professed my dislike for tomato cages many times, so you know where I’m going with this: Build your own customizable trellis! Not only will your plants be healthier due to better air flow, but you can also easily harvest from both sides of a trellis. Whether you choose a panel style or A-frame, infesting in some quality wooden poles and wax-coated lashing cord will send your harvests from ho hum to hallelujah! Don’t forget to grab a bag of reusable clips or botanical tape to keep wild growth in check. Make sure to observe your plants several times a week, especially when heavy fruits are setting. It could make the difference in saving heavy limbs from snapping! You can read our full rundown of trellis DIY here.
Courtesy of Amazon
Courtesy of The Plant Lady SF
Maintenance Tips
In cool-summer climates you should prune plants to let more sun in, which aids in ripening the fruit. Where pruning isn’t necessary, I personally like to thin out my plants by removing lower leaves that might be getting splashed during waterings and pinching off all suckers and side shoots. There’s really no wrong way to do it, as long as you’re leaving enough leaf coverage to help shade the fruit on hot days. If all else fails, remove anything that looks like it’s starting to brown, spot, or have a disease, and then keep a closer eye if further action is needed. Most plant problems are reversible if caught early.
When temps hit over 90 degrees, tomato plants stop producing. It’s imperative that you step in before any heat waves to save your plants. First, make sure you’re watering deeply before temperatures spike, keeping in mind that roots can extend 2 to 3 feet beneath soil level. Next, add 2 to 3 inches of mulch or compost around each plant to help retain as much moisture as possible and provide a shade cloth on really blazing days for any plants that might be hit with that scorching August to September late afternoon sun.
Kathrin Ziegler/Getty Images
Harvesting How-Tos
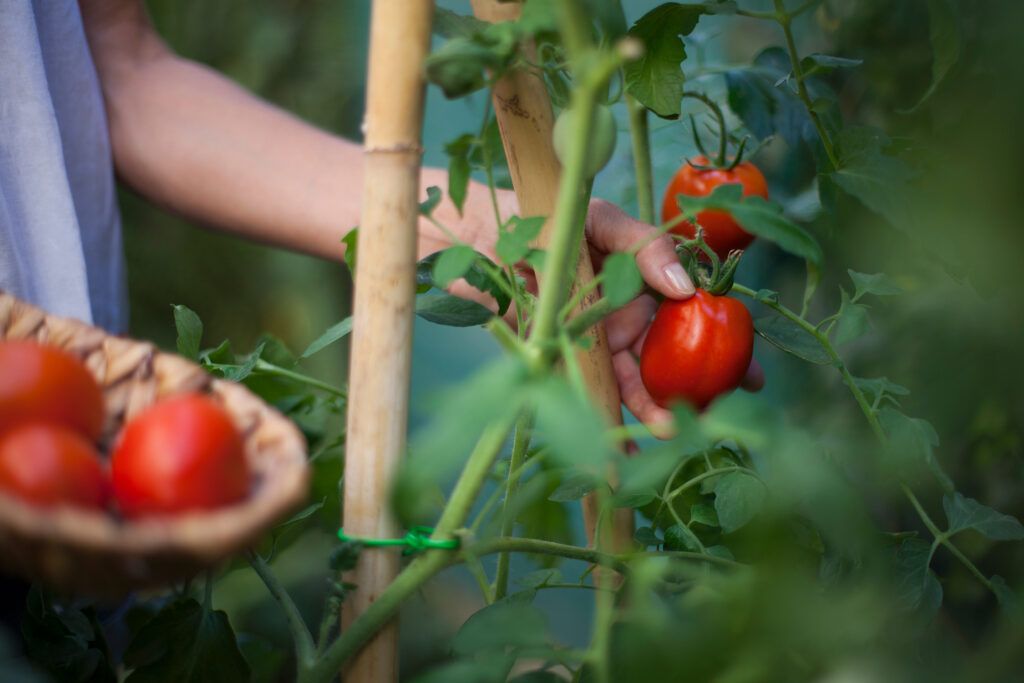
First of all, pat yourself on the back because YOU DID IT! Tomato jewels are glistening in the hot summer sun and you are ready to dive head first into the fruits of your labor. Nothing beats a warm cherry tomato straight from the vine on a summer afternoon (and you most certainly should snack away), but it’s best to harvest early in the morning while the fruit is still dewy for fruit that stays fresher longer. Tomatoes replenish lost moisture at night, converting starches into sugars making for a sweeter and more crisp fruit. Make sure the fruit is full of deep color (no green), has a little give when touched, and has a glossy skin—the smell alone will let you know it’s time but it’s always good to give it a full check before plucking.
